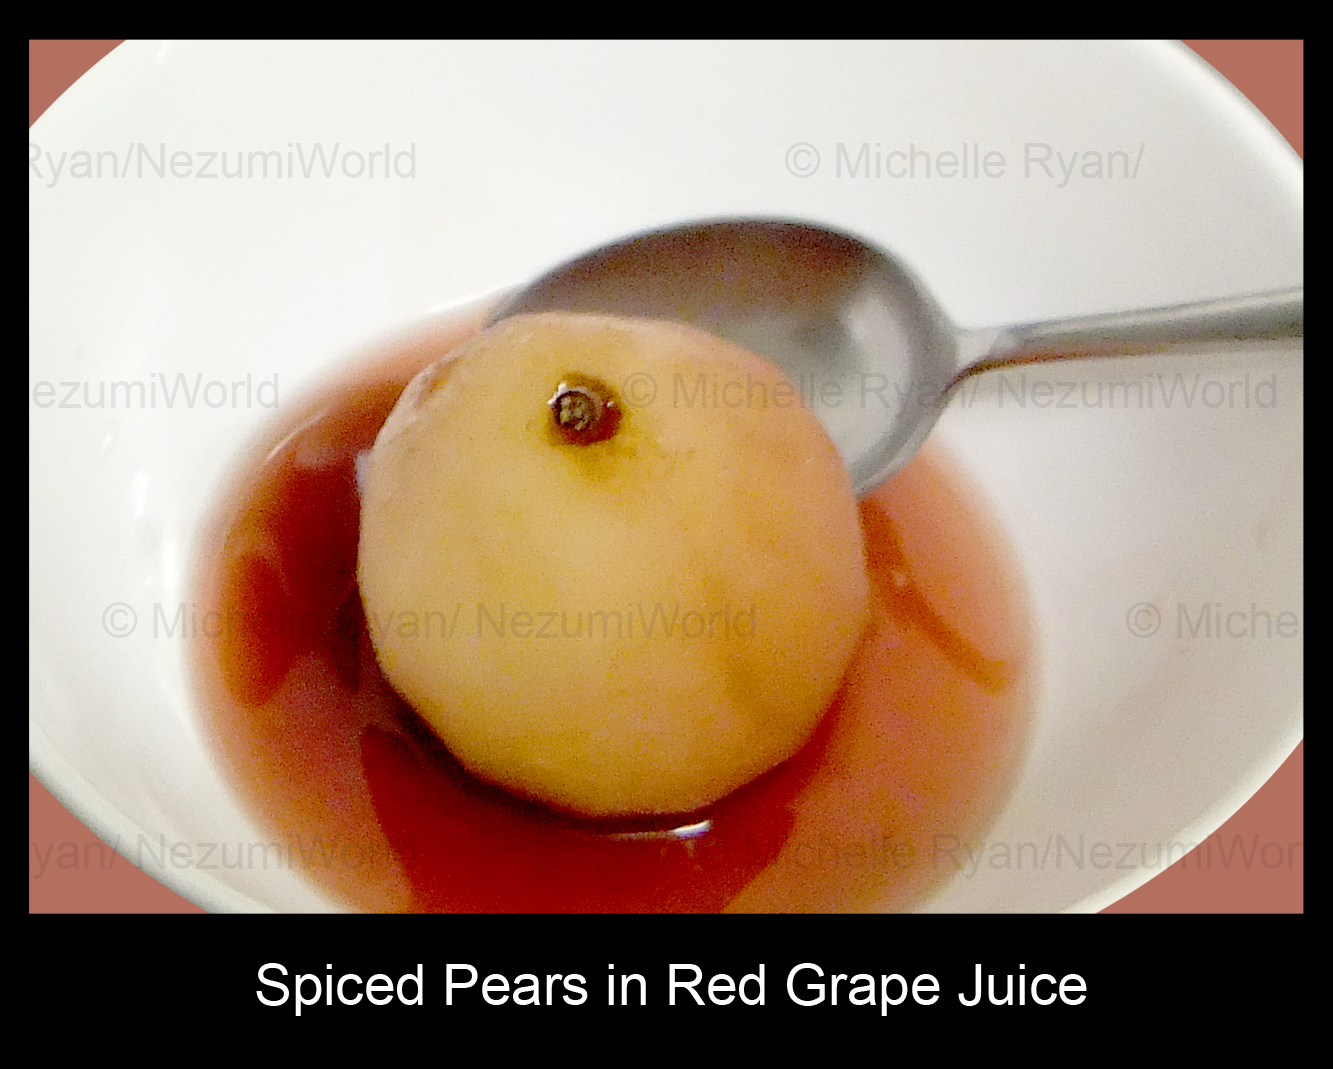
Spiced Pears in Red Grape Juice
Eaten hot (which I prefer) or cold, this simple dessert smells of Christmas and the holiday season. It's so tasty on a cold winter day eaten warm it's to tasty to also be good for you. Equally good served cold in the summer.
As red grape juice is used instead of wine unlike most poached pear recipes, children and adults wishing not to drink alcohol can also share in this tasty and healthy dessert. Plus it's one of your five a day :)
Any left over liquid can be used on ice cream :)
Ingredients
- 750mls Red Grape juice
- 4 Ripe firm pears (peeled and insides removed from the bottom of the pear, keep any juices and add to the saucepan)
- 1/2 orange (cut into 4 leave peel on again add any juice to the saucepan)
- 1 Cinnamon stick
- 2 -3 Cloves
- A little ginger (it adds a nice kick, I used fresh peeled ginger about the size of a 1/3 of my finger)
- A teaspoon honey
Put all ingredients except the pears into a medium sized saucepan and heat until it boils, stir well and add the pears, reduce heat so the liquid simmers (a low heat but it bubbles slowly). If you have a lid put it on the saucepan.
Simmer making sure you keep putting the juice mix over the pears for 40 minutes to 1 hour until tender (not to soft but not hard).
Remove the pears and put into bowls add the orange piece for decoration. Heat the liquid on boiling for 10 minutes until it reduces and thickens, spoon some of the liquid over each pear, be careful not to add the ginger, cloves or cinnamon. Leave to stand for a few minutes so the boiling liquid does not burn anyone. Can no be served hot. If you prefer it cold, leave to cool than place in a fridge for 3 - 4 hours before serving.

This
post is linked to Cook and Celebrate: Christmas 2014 organised by Yen
from Eat your heart out, Diana from Domestic Goddess Wannabe and me
from Bake for Happy Kids.
Please link your post with us if you are also cooking something special for your Christmas celebration for the whole of December 2014.
Please link your post with us if you are also cooking something special for your Christmas celebration for the whole of December 2014.